KitchenAid Refrigerator Evaporator Leak in Safety Harbor: Tracking Down a Refrigerant Leak
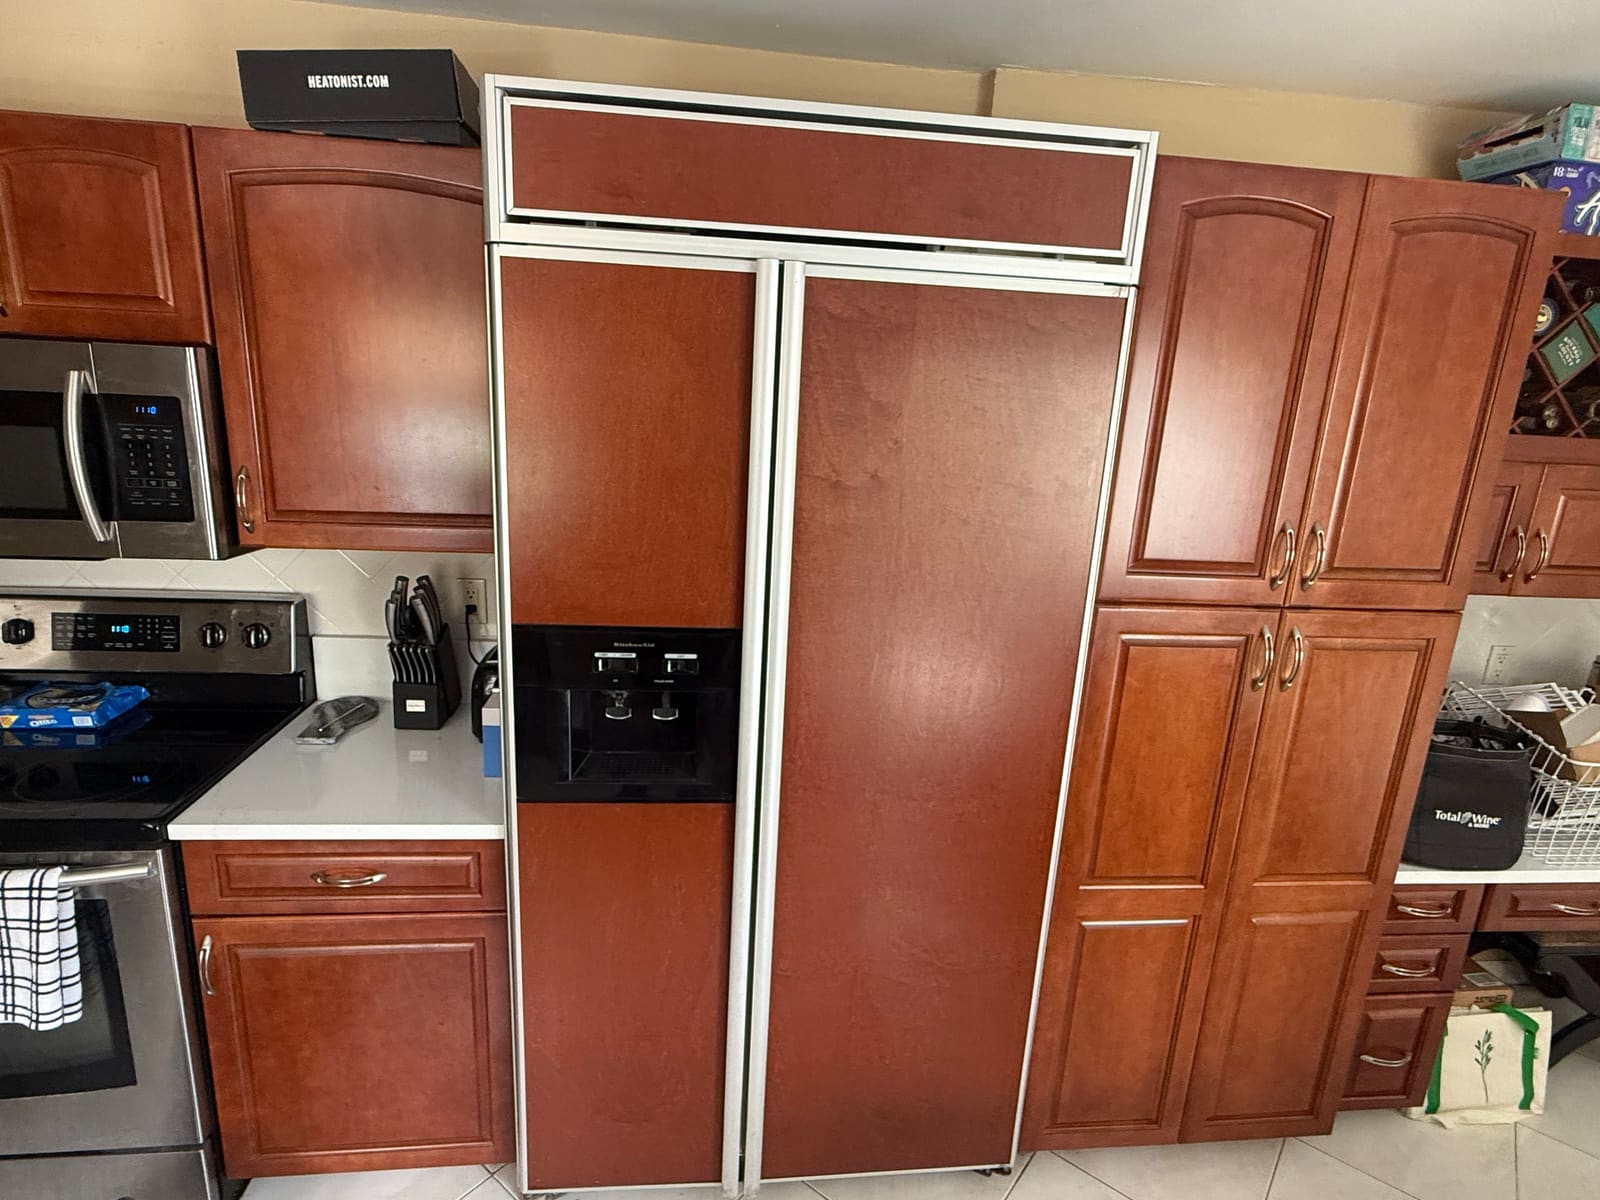
This KitchenAid Superba built-in refrigerator in Safety Harbor is one we’d been out to before, for a failed condenser fan motor that had it running warm. That time, the client held off on fixing the water dispenser and icemaker since they didn’t use them. This visit was a different problem — and this time, the water and ice got fixed too.
A refrigerant leak, and a hard one to find
This time the refrigerator wasn’t holding refrigerant. Leaks like this can be genuinely difficult to pin down — the system can be losing refrigerant slowly enough that there’s no obvious sign of where.
Finding it starts with recovering what refrigerant is left, then installing a temporary service valve so the sealed system can be charged with nitrogen and pressurized for testing.
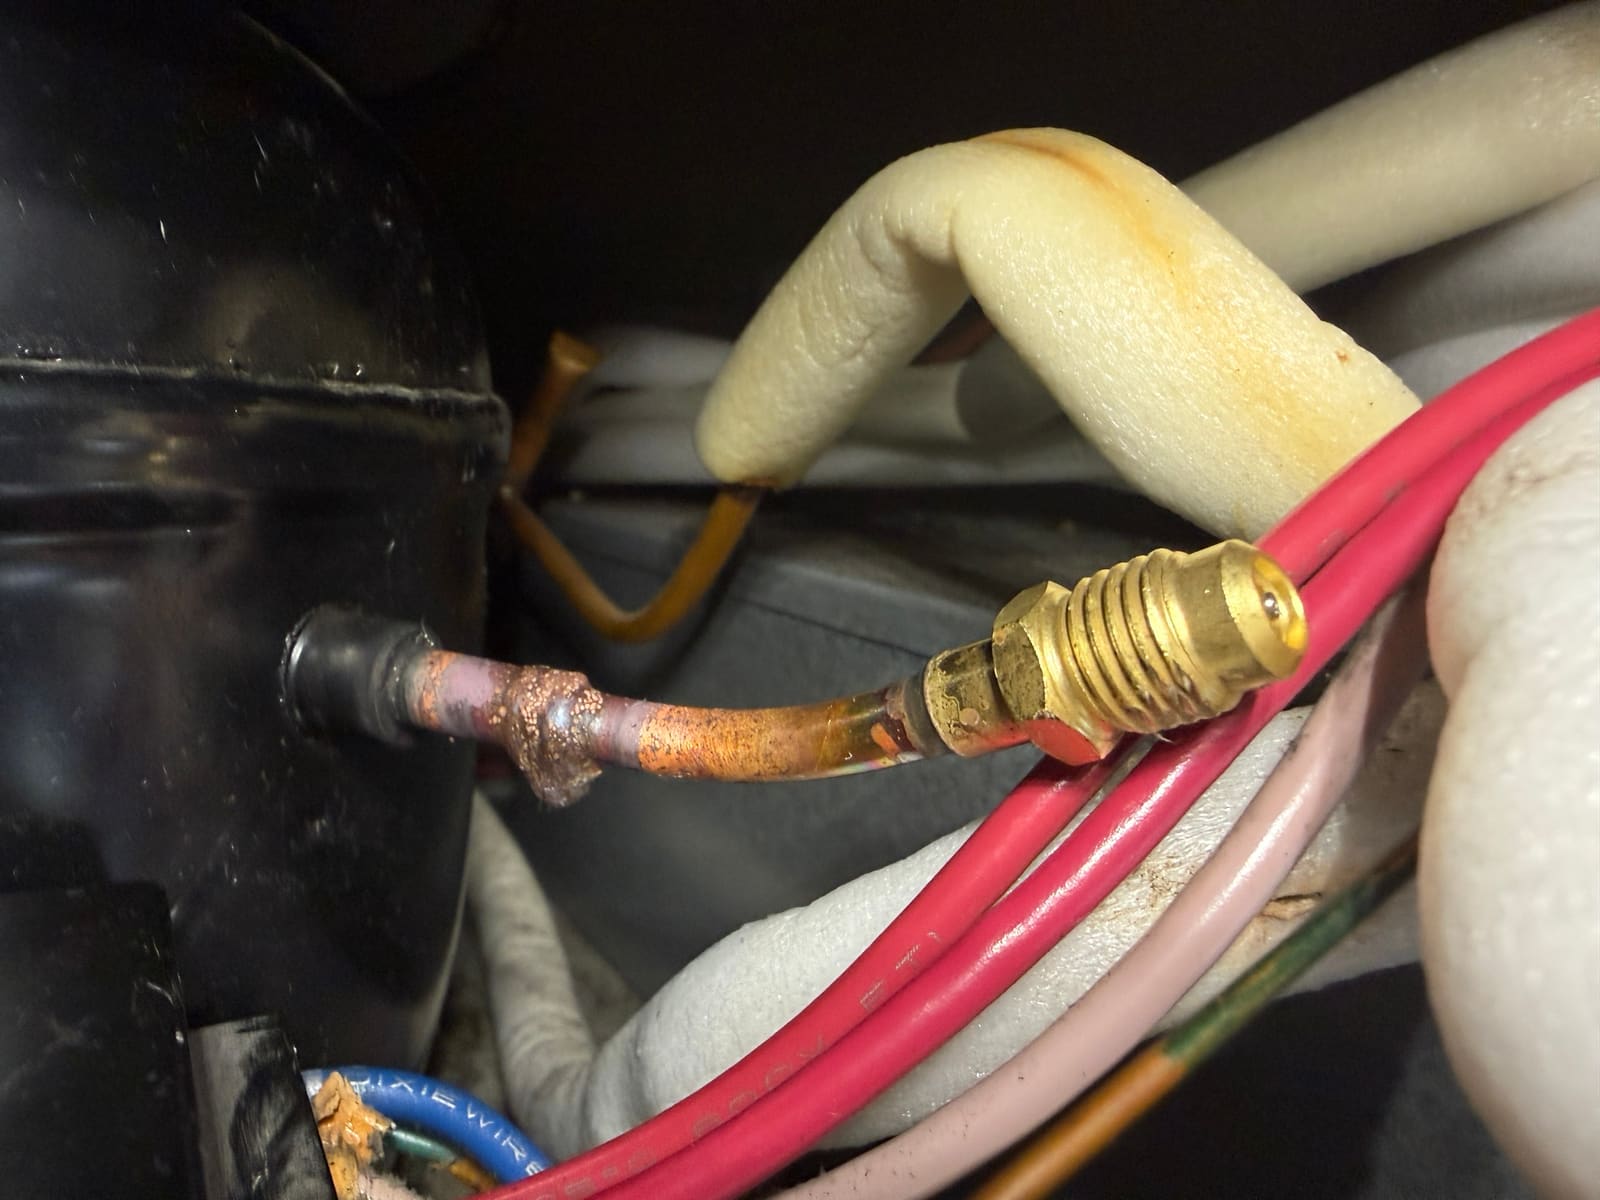
With the system pressurized, we went over every point near the compressor and line set a leak could hide.
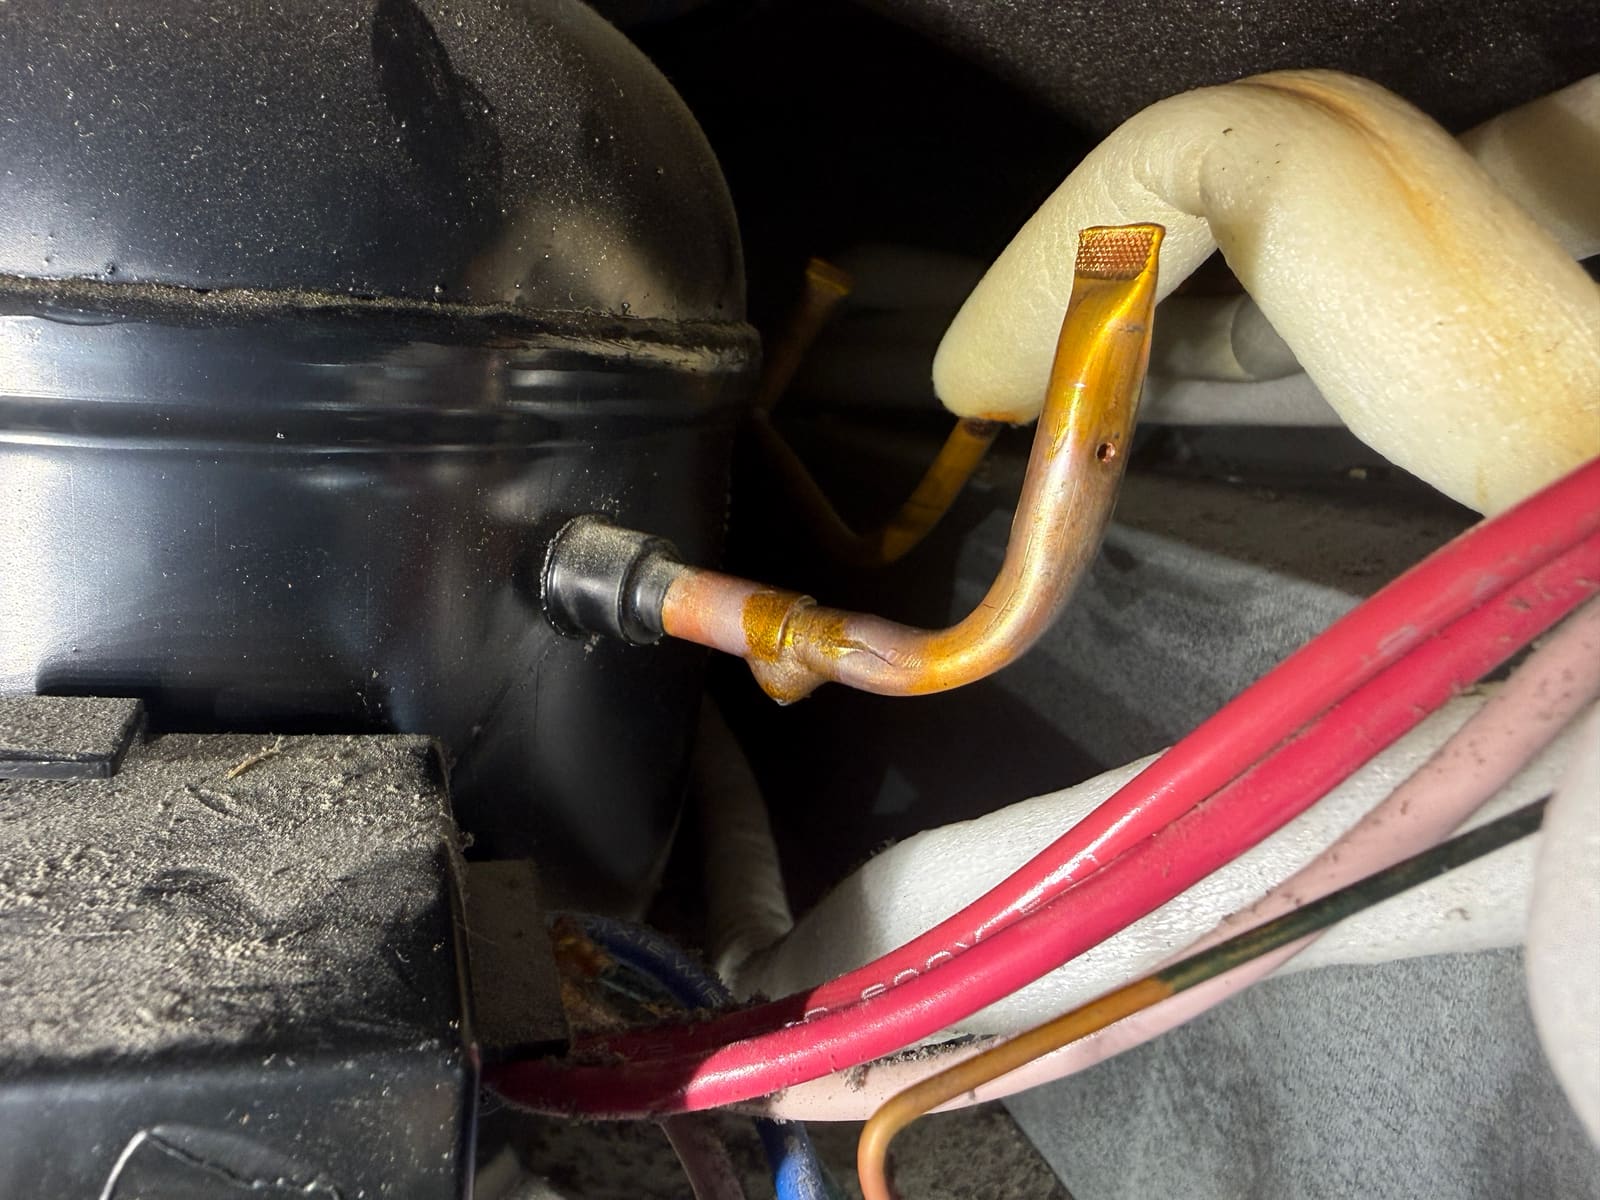
The first clue was actually audible — a faint hiss under pressure — which pointed us toward the evaporator. From there, soap bubbles at the suspect spot confirmed it: the leak was on the evaporator itself.
Replacing the evaporator
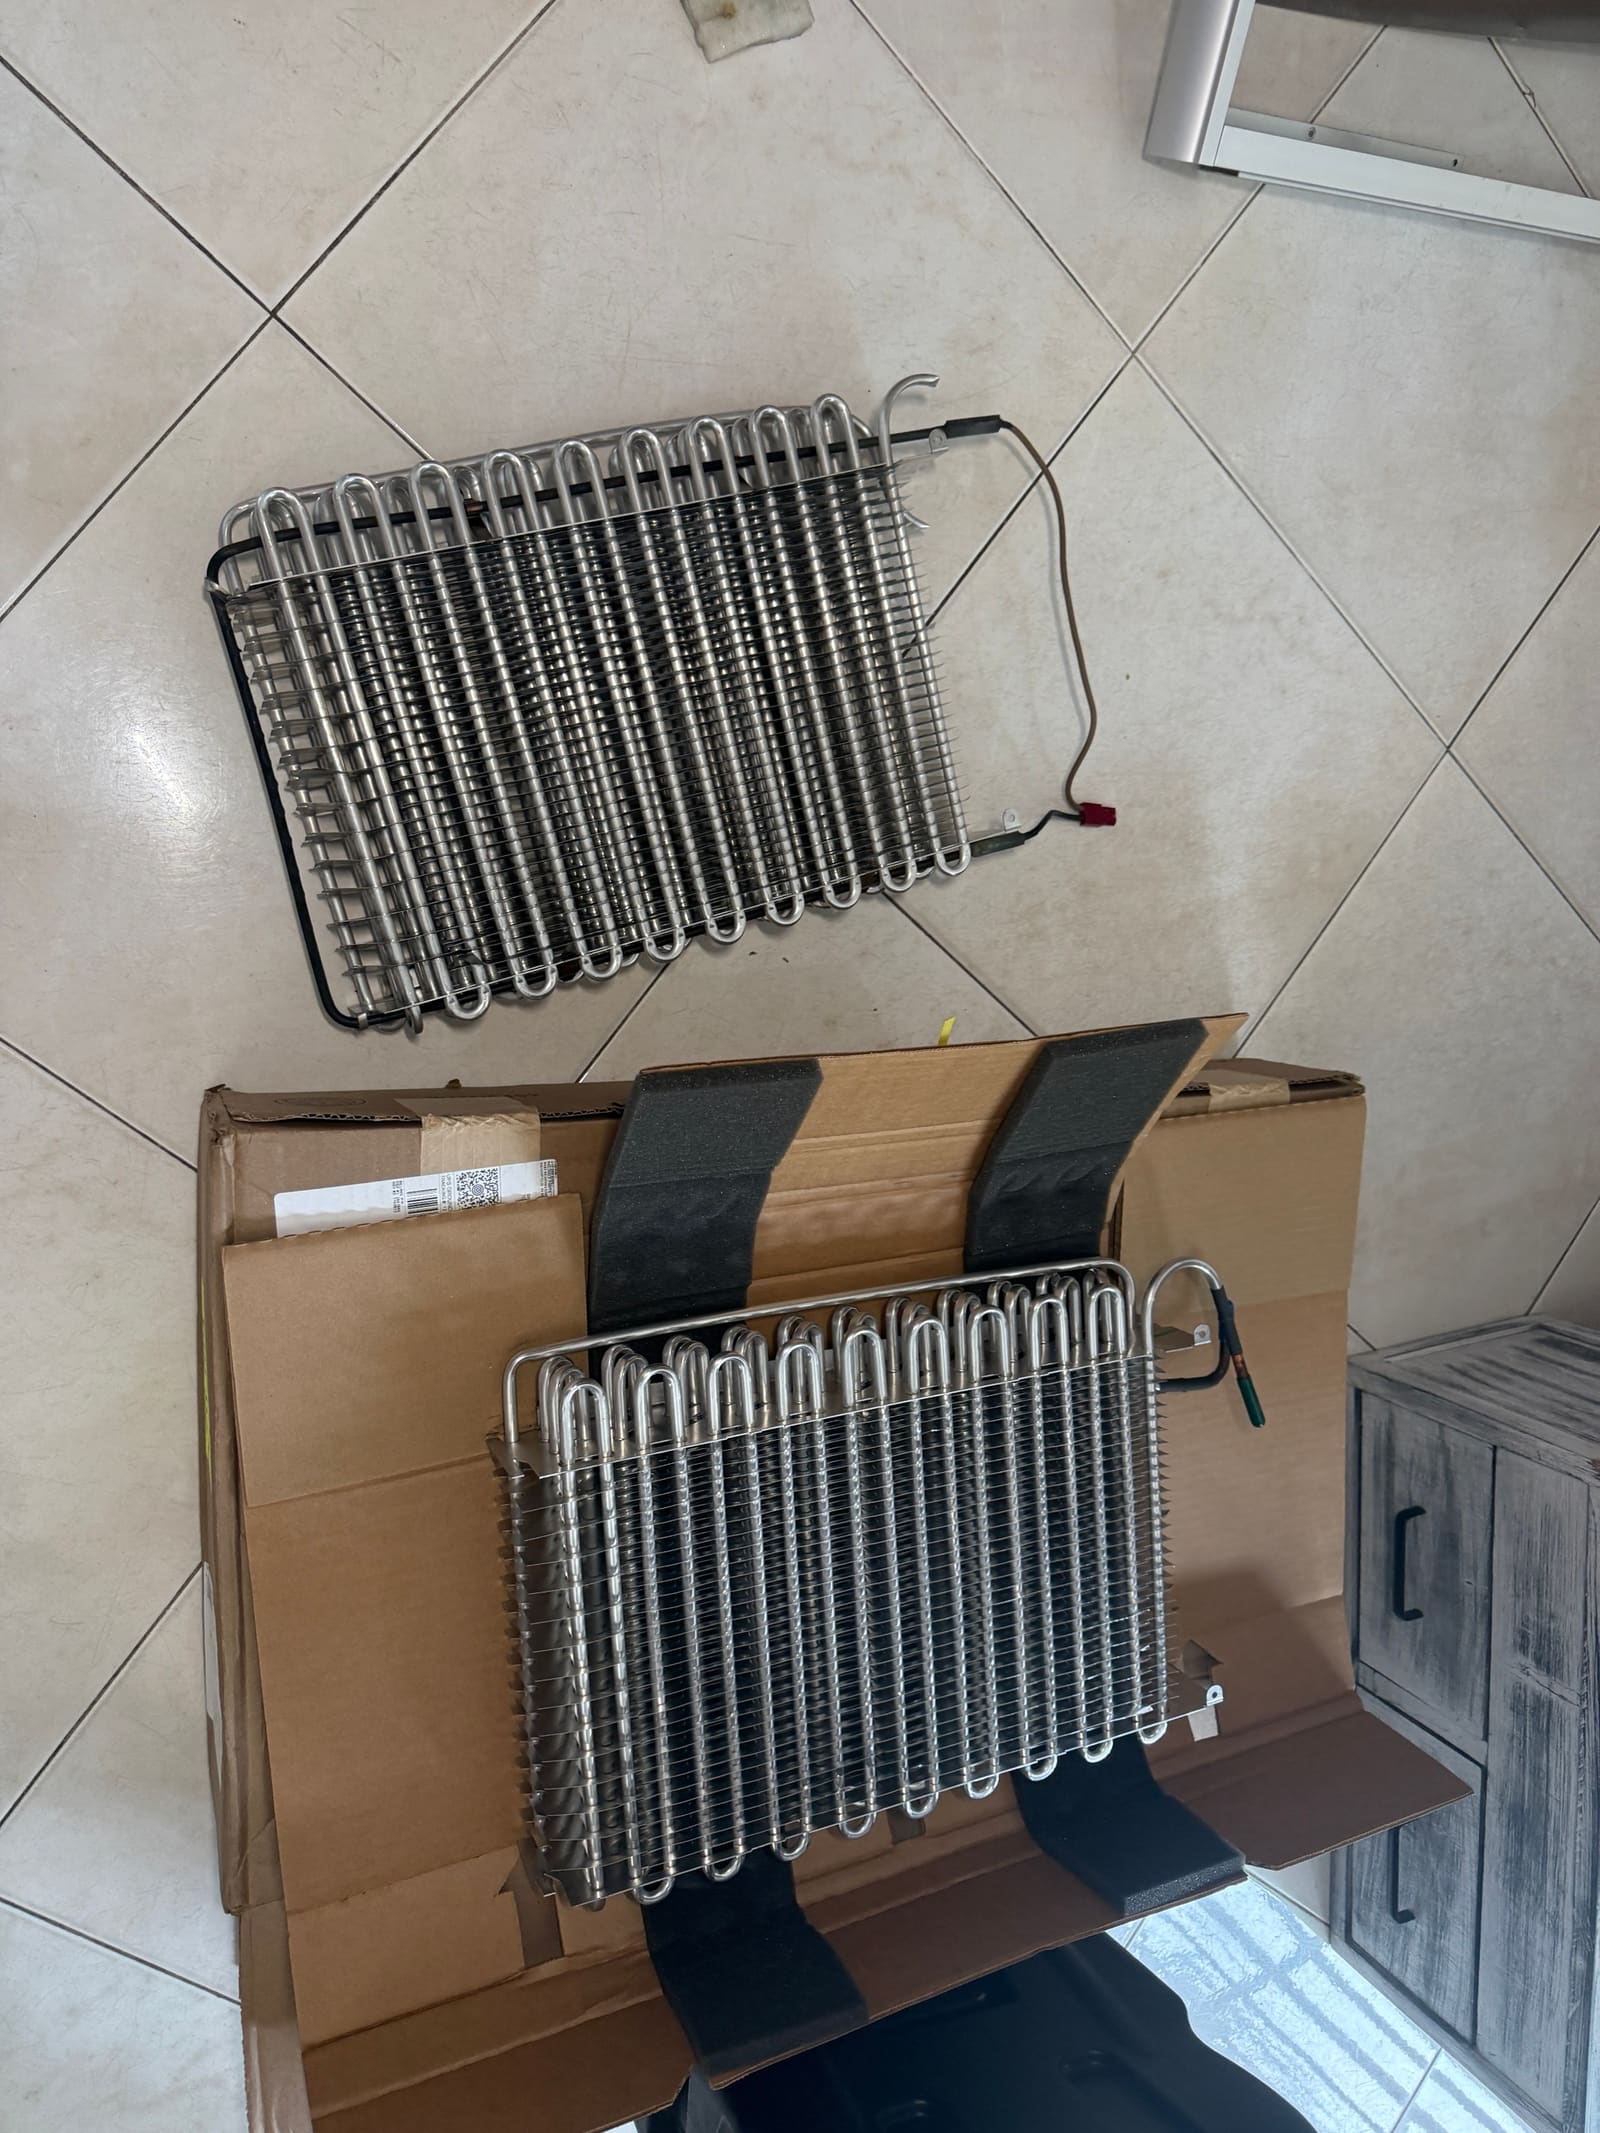
With the leak point confirmed, we ordered the replacement evaporator and came back once it arrived. The old evaporator came out, leaving the freezer cavity opened up down to the wiring and water line.
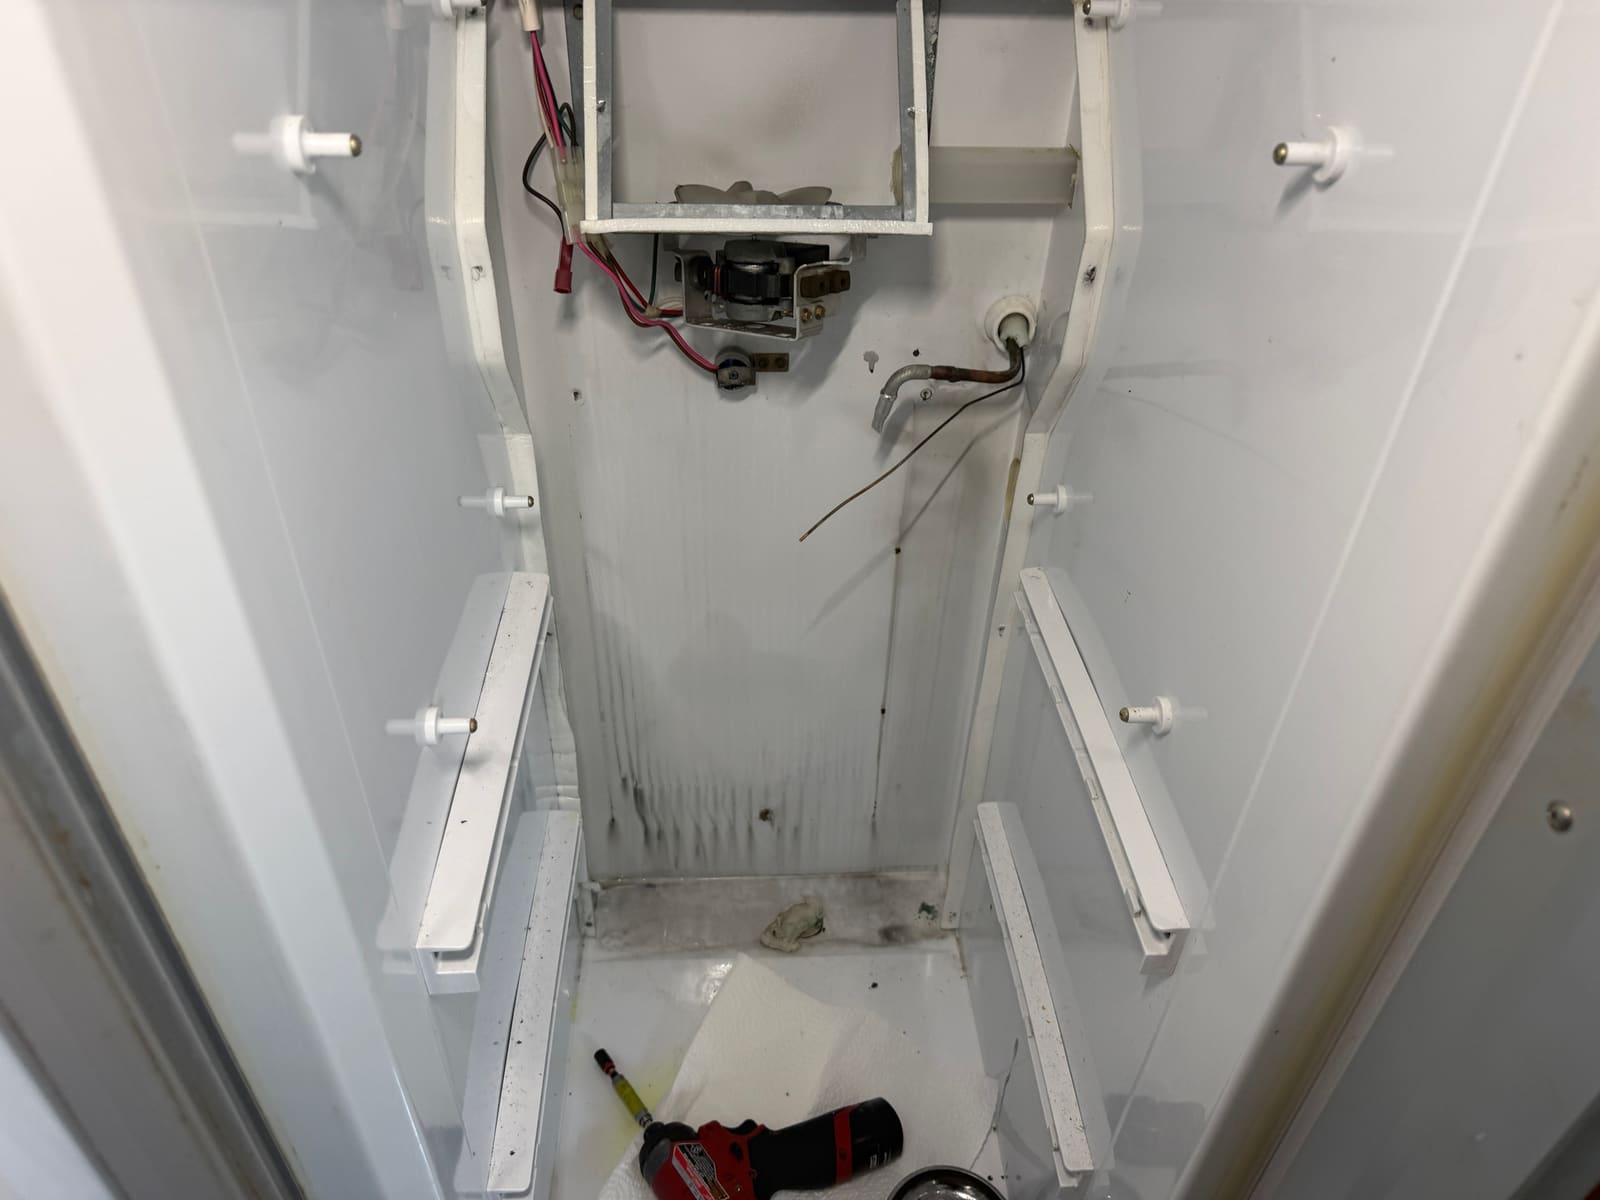
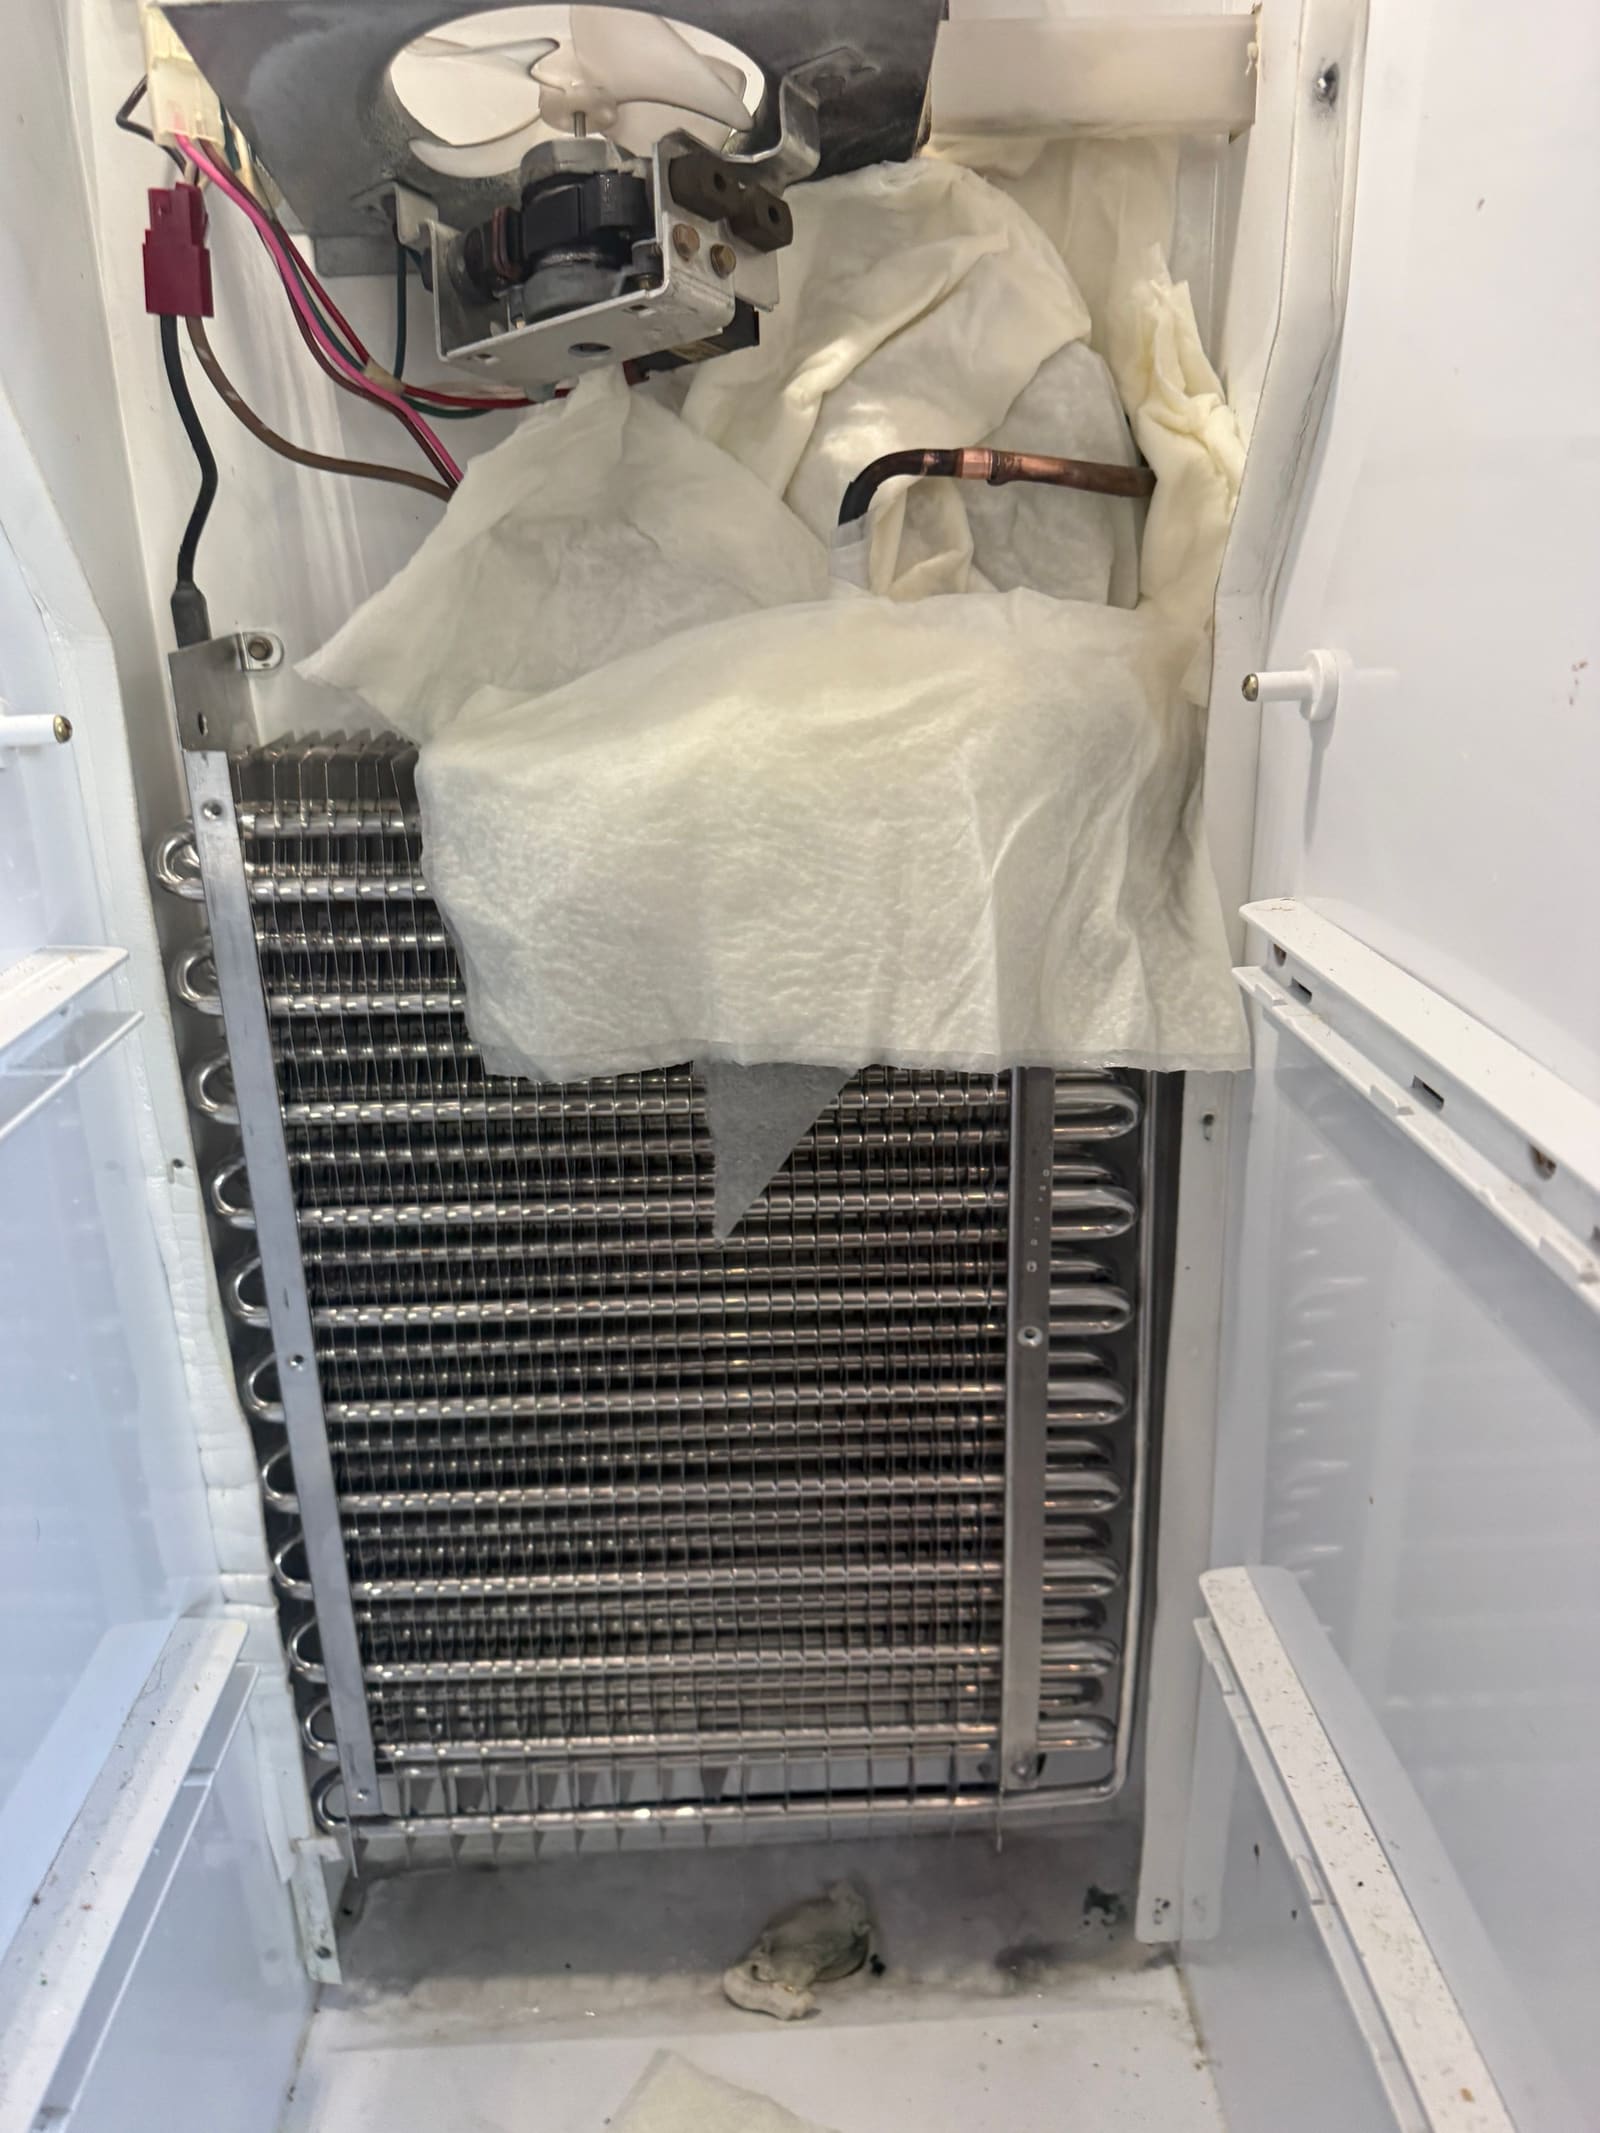
Getting the new one in meant brazing it into the line set inside the freezer cavity.
Each brazed joint got wrapped back up in insulation once the connection was made.
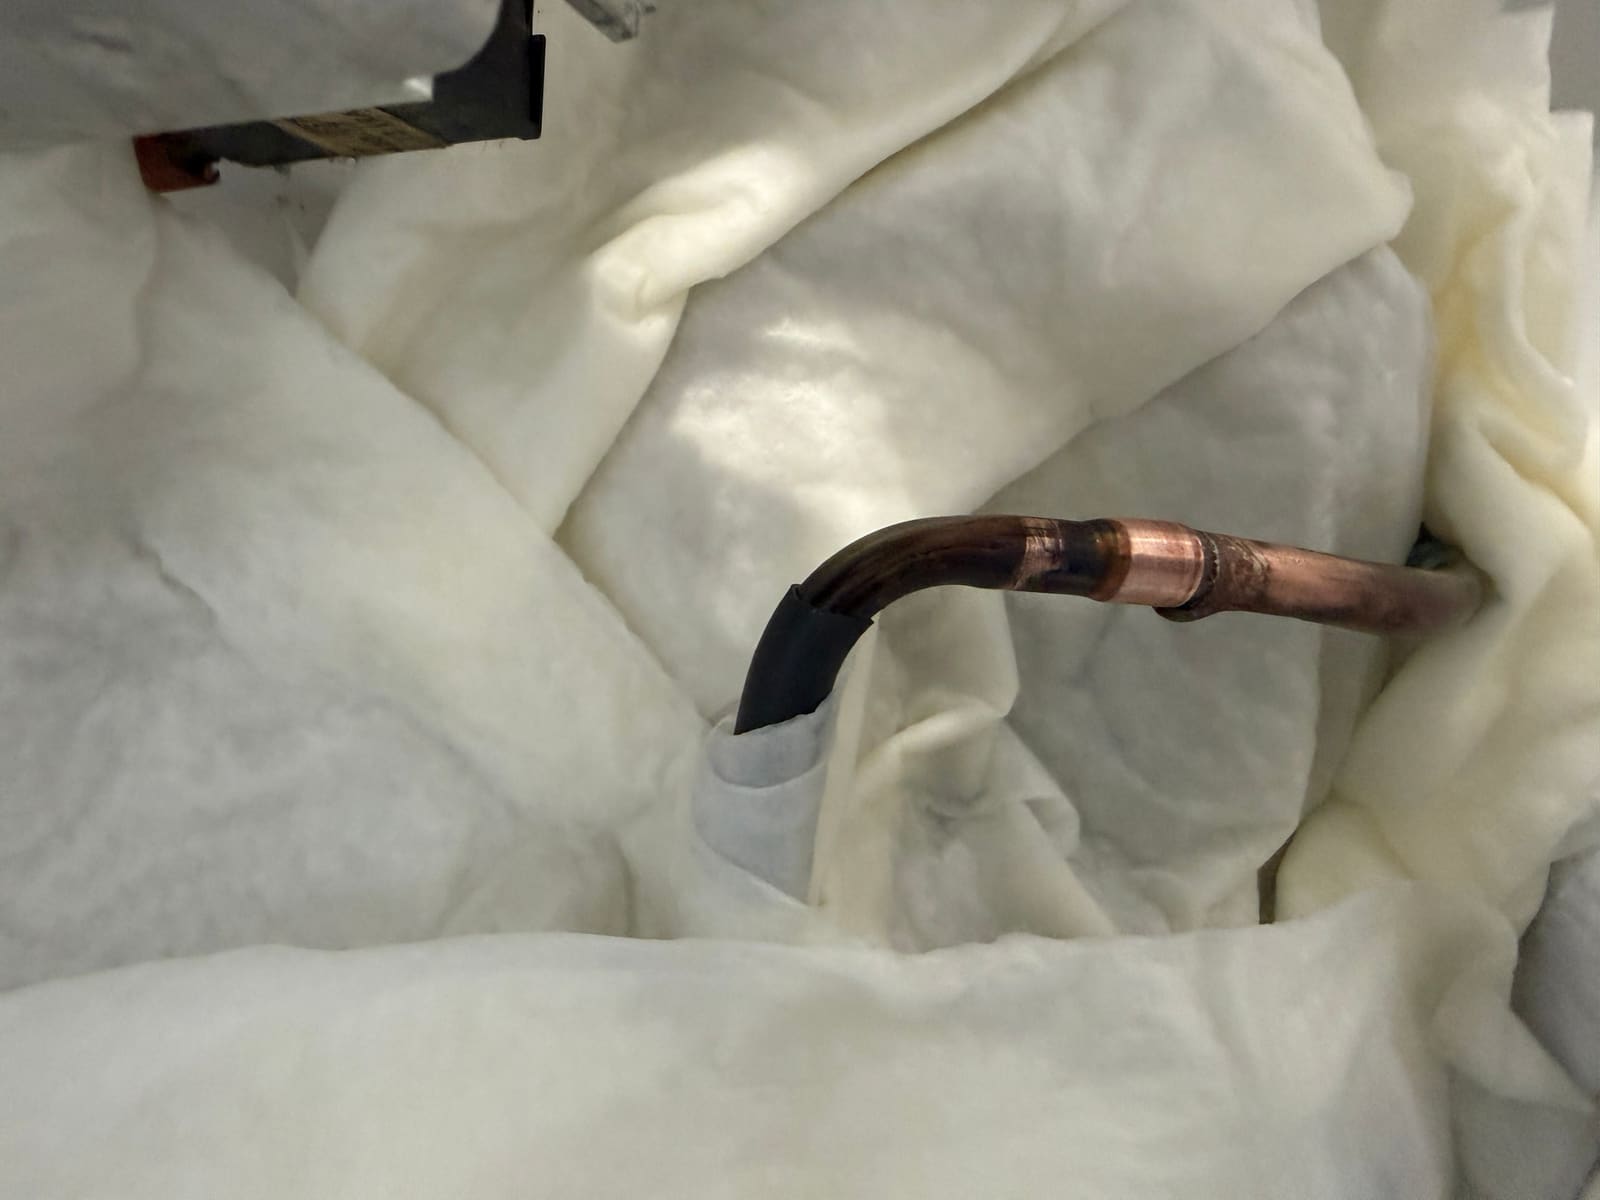
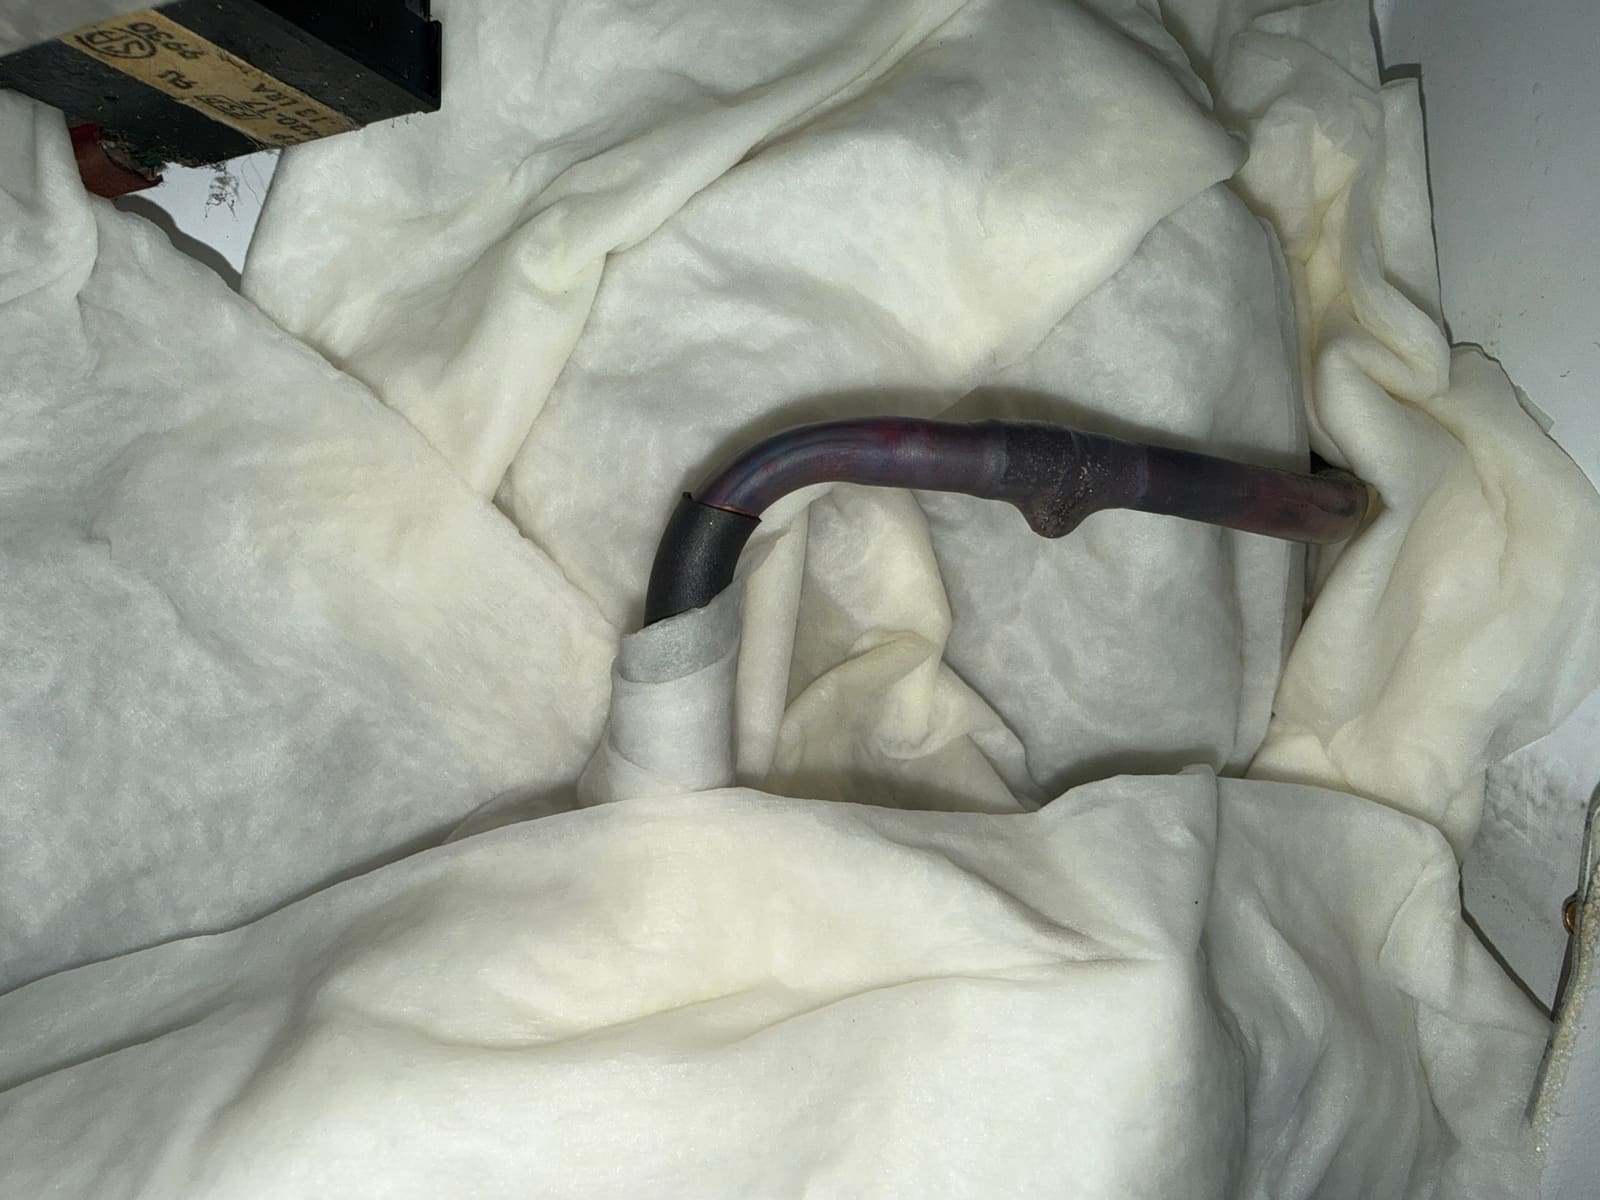
We also installed a proper permanent service valve in place of the temporary one used for testing, brazed into an access port on the cabinet.
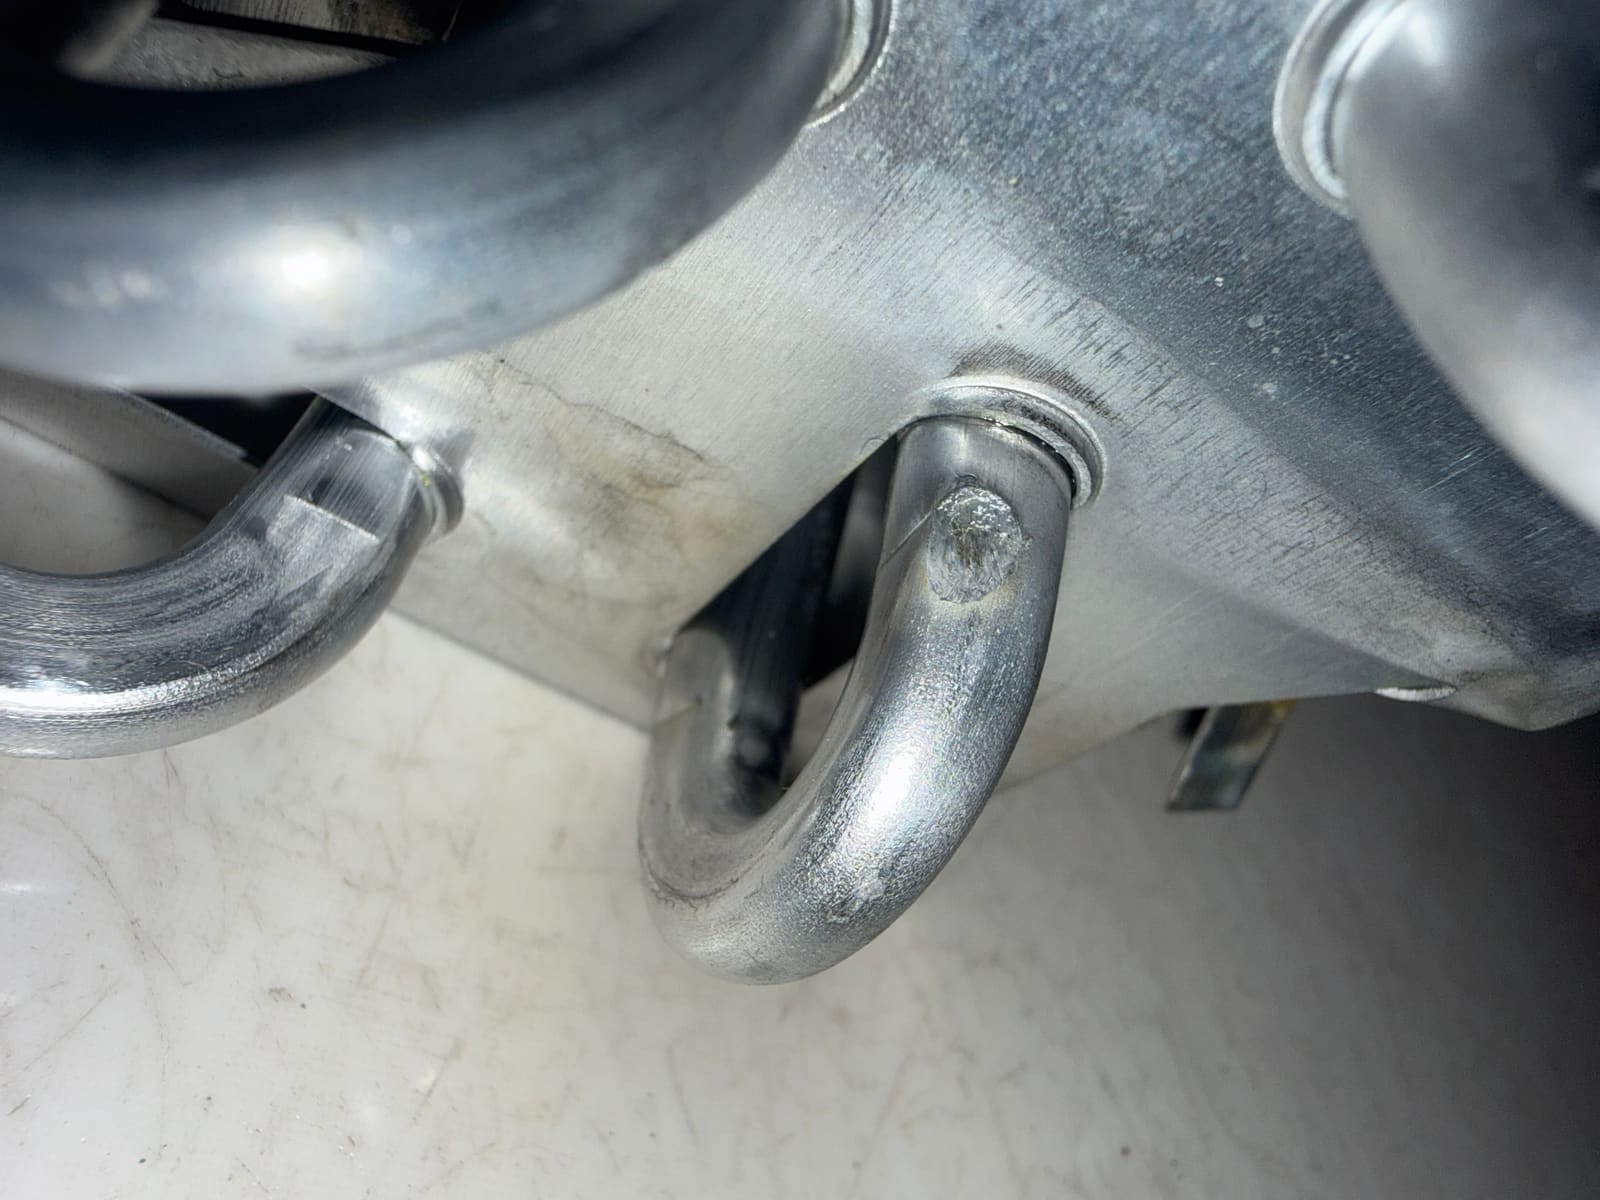
Once everything was brazed, the system got purged and pressurized with nitrogen again to confirm the new joints held with no leaks, then pulled down to a vacuum before finally being charged with refrigerant.
Finally fixing the water and ice
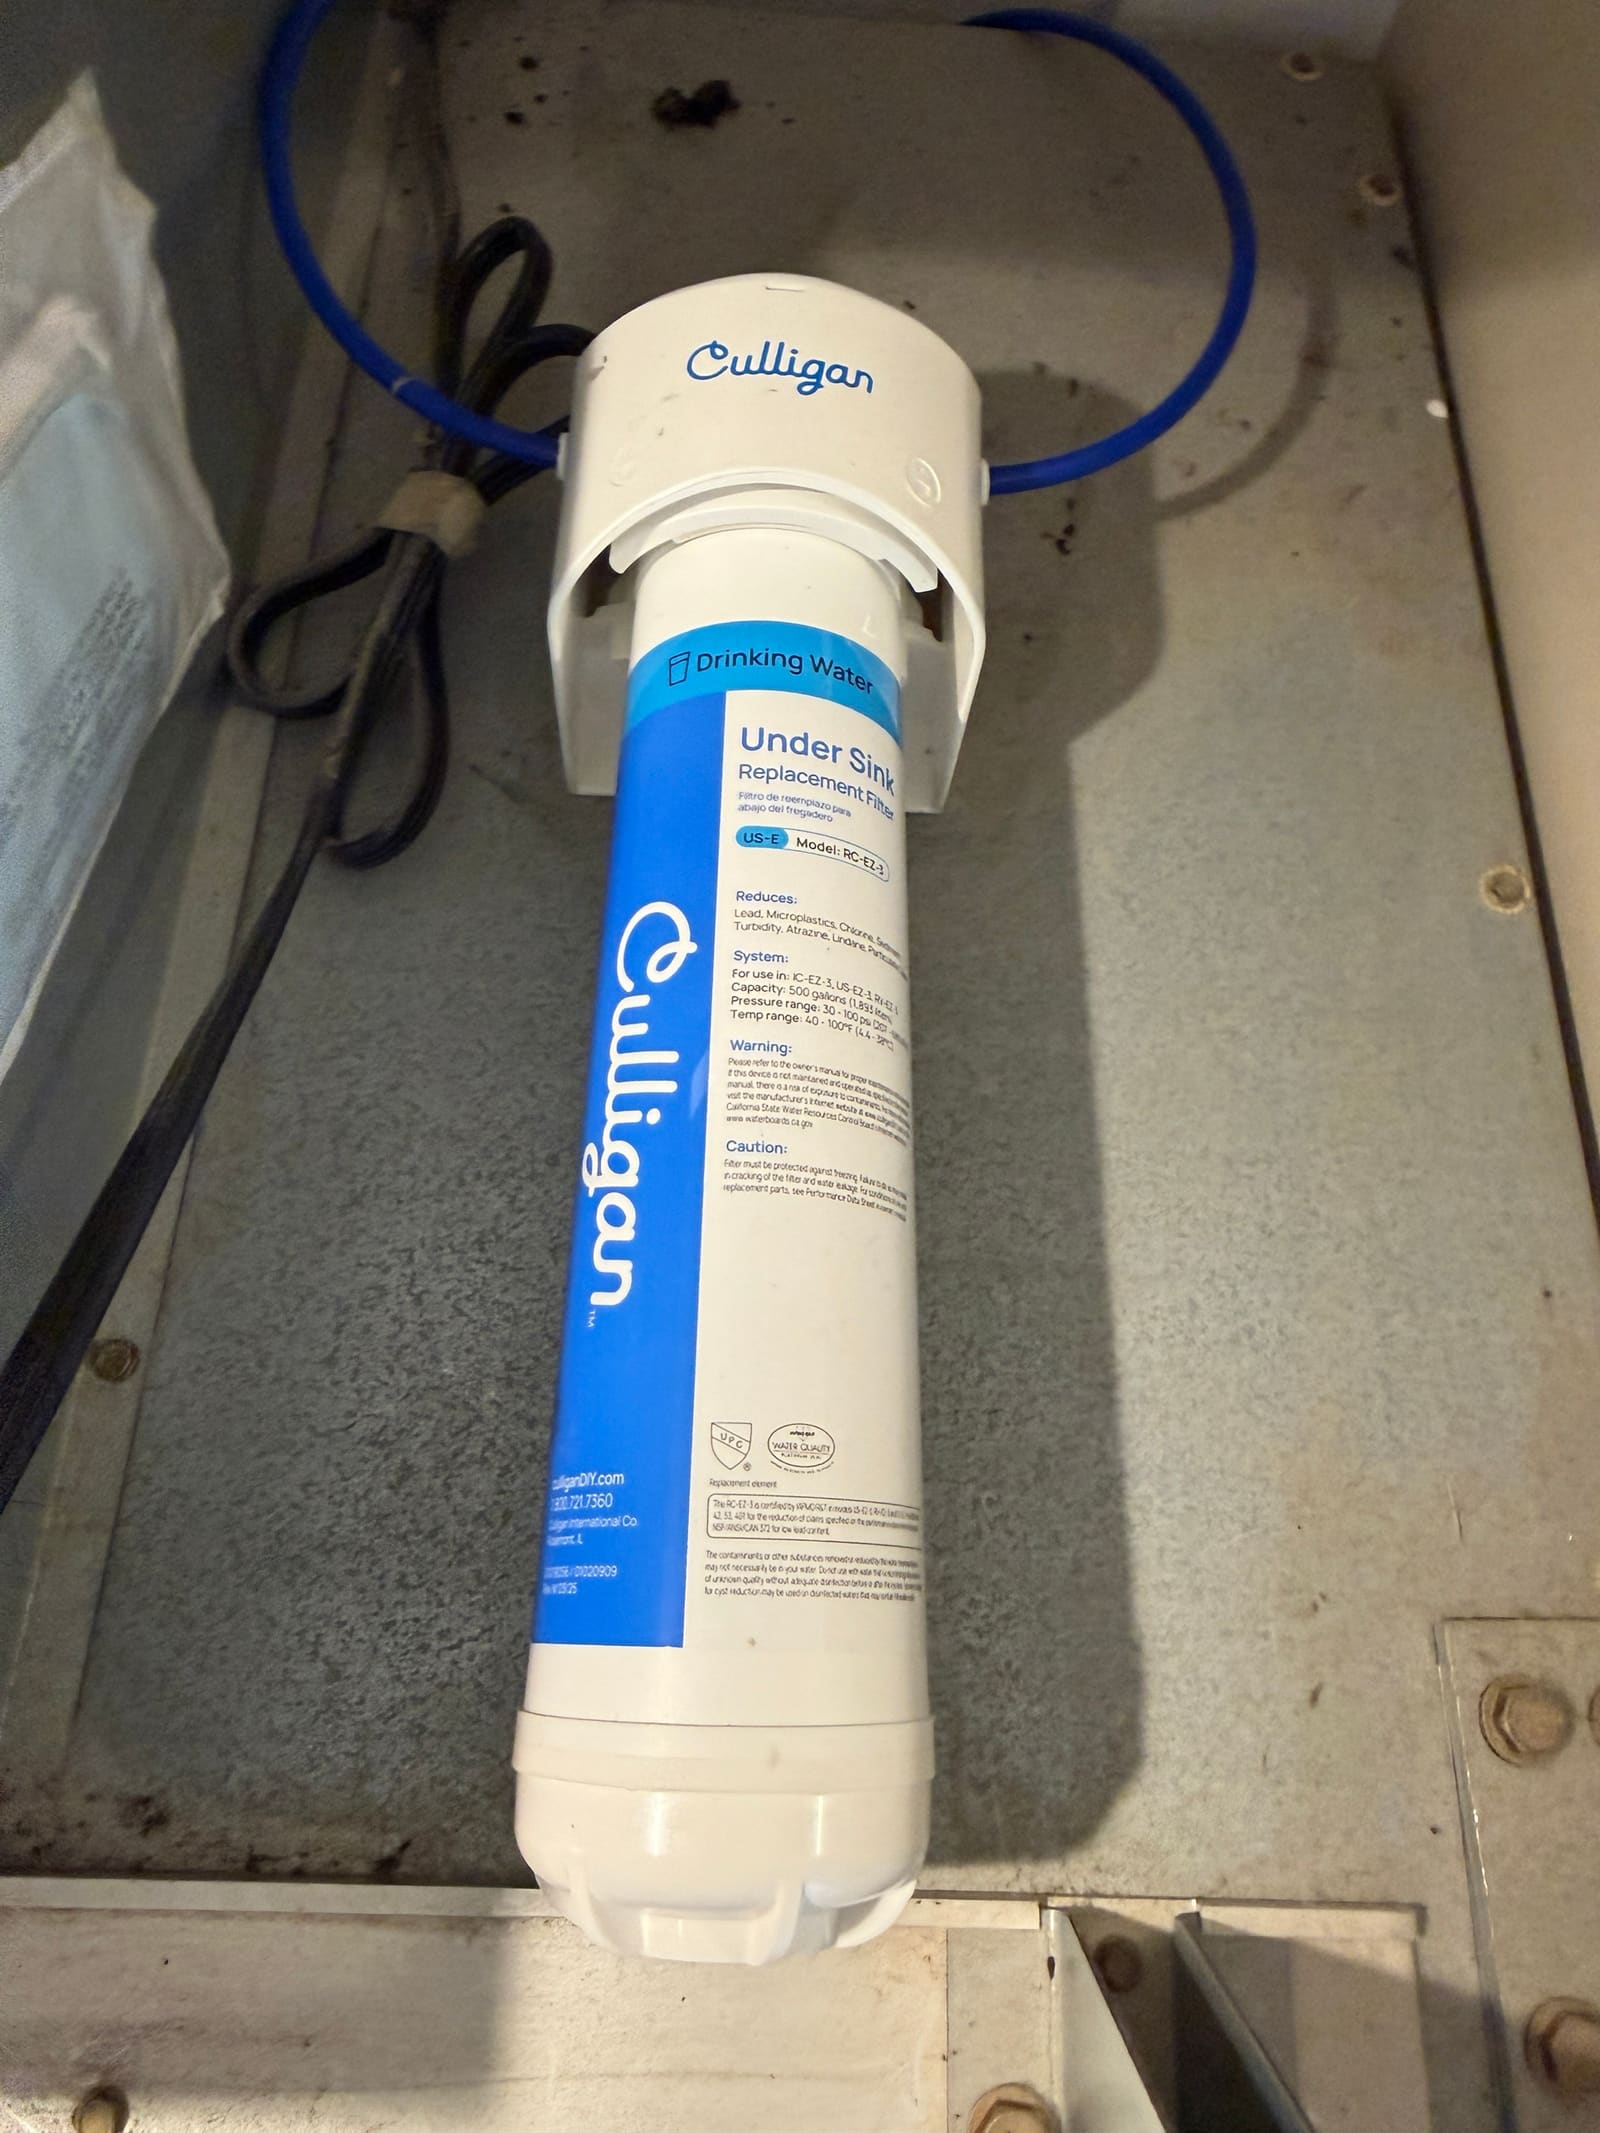
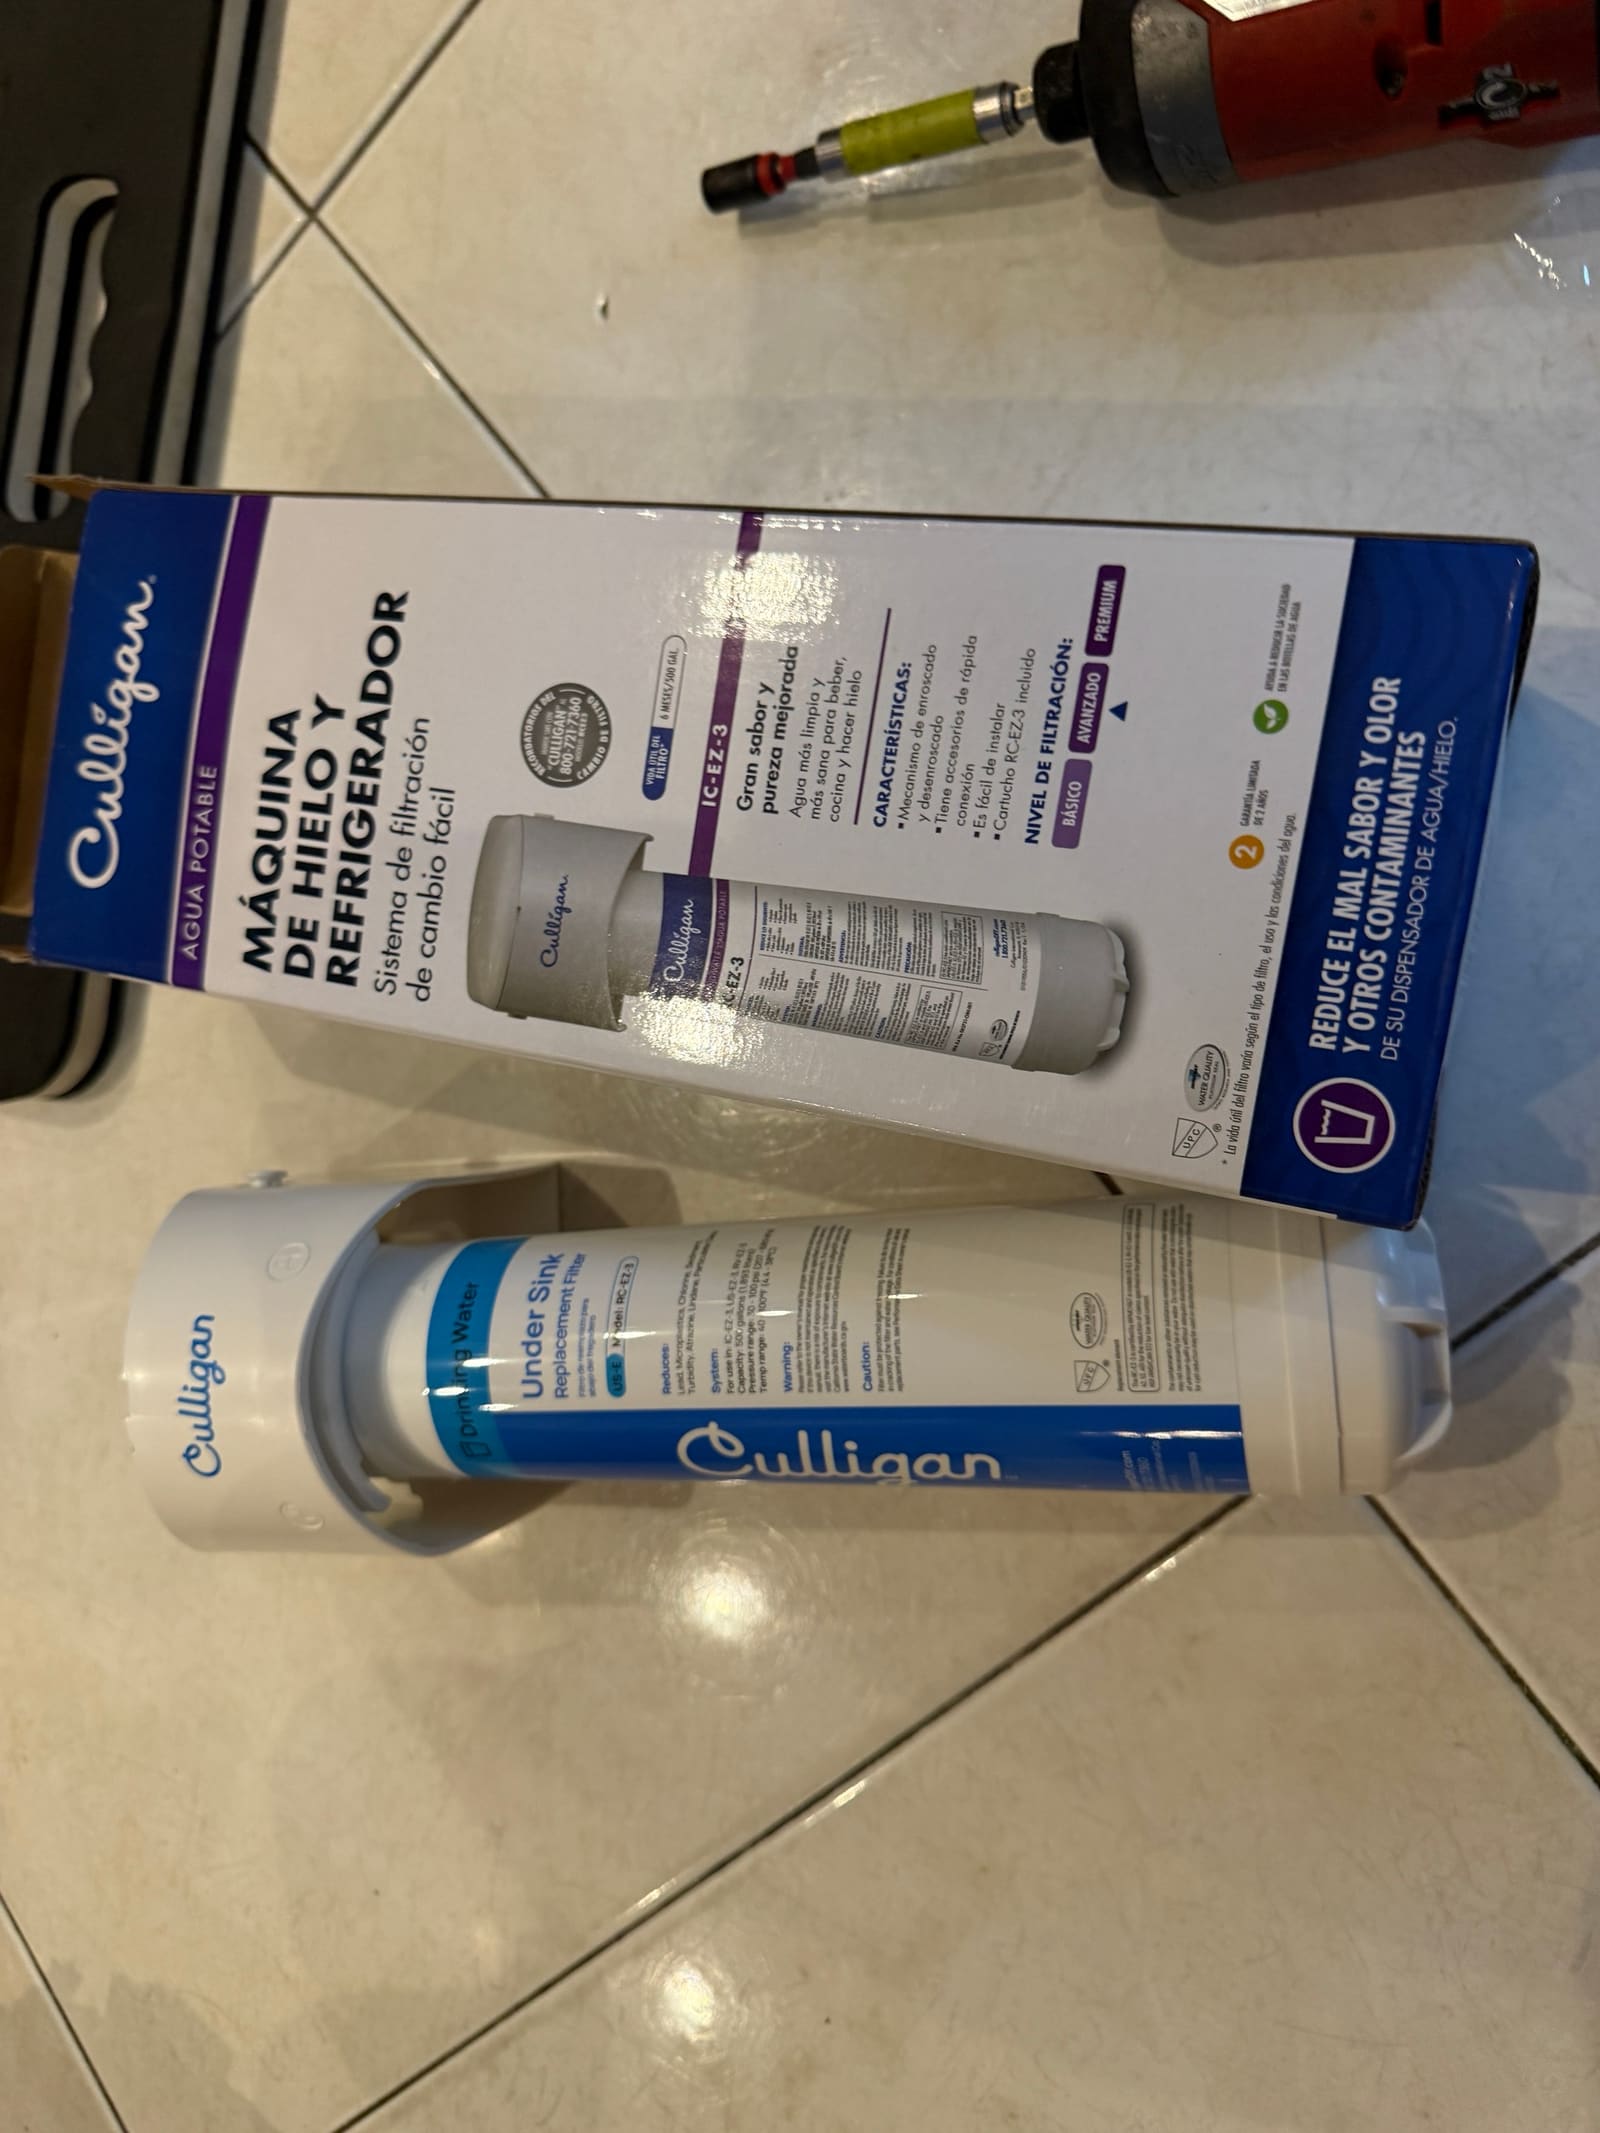
While we were there, we also took care of the water dispenser and icemaker issue left over from the last visit — the water inlet valve was replaced. Since this refrigerator never had a water filter built in, we added a proper Culligan filtration system to it as well, along with a shutoff valve on the water line as a precaution.
Result
The refrigerator is holding refrigerant, cooling normally, and the water and ice both work now too — see it running below.
If your built-in refrigerator keeps losing refrigerant with no obvious cause, a slow evaporator leak is worth having checked — it’s one of the trickier ones to find, but not impossible. See our refrigerator repair page for what else we typically look at.